Fall is officially here, which means it’s time to for cooler temperatures, Halloween shenanigans, and of course pumpkin-flavored EVERYTHING!!
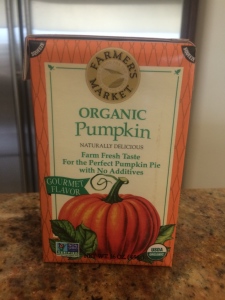
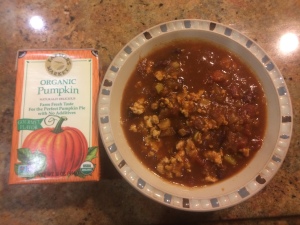
As a major time saver for these recipes, I purchased organic pumpkin puree from Whole Foods. Kudos to those who want to roast and blend a real pumpkin! I’ve done it before many times with squash to make butternut squash soup, so I know it can be done. But every once in a while, containers like the one pictured below can really help! Also note that it’s in a carton and not a can. I try to avoid cans as much as possible because of BPA (Bisphenol A) concerns. According to the Mayo Clinic, “Some research has shown that BPA can seep into food or beverages from containers that are made with BPA. Exposure to BPA is a concern because of possible health effects of BPA on the brain, behavior and prostate gland of fetuses, infants and children.”
No worries if you can’t find this and have to use a can. In those cases, try to purchase organic and see if the can actually lists “BPA-Free” on the label.
Below you will see 5 different recipes including pumpkin as an ingredient! There is also a bonus recipe for homemade chili sauce – YUM!
ENJOY!!
1) Pumpkin Syrup Recipe (great for coffee or as a topping)
So, are you going to head to Starbucks for a pumpkin latte? I’m here to tell you that you don’t have to! What if I told you that you can AVOID the artificial, GMO, and sugar-laden ingredients that Starbucks has to offer?!! I’ve got a recipe for you that you can make at home!! Not only will it be free of toxins and junk, it will also TASTE better!! 🙂
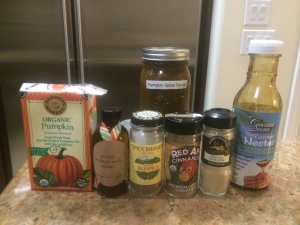
This was adapted from my Vitamix Recipe book. I modified or “healthified” as I like to say!
Ingredients:
|
|
Directions:
|
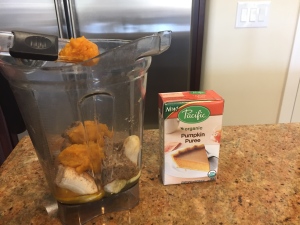
1. Place all ingredients into the Vitamix container in the order listed and secure lid.
2. Select Hot Soup program. 3. Switch machine to Start and allow machine to complete programmed cycle. |
|
***For those without a Vitamix or other equivalent blender use a saucepan on the stove! Stove Top Directions: In a medium saucepan, add water and the coconut nectar (or sugar if using instead). Simmer on medium-low heat until the nectar (or sugar) dissolves, about 4 minutes. Turn the heat down to low and whisk in cinnamon, ginger, allspice, and pumpkin puree. Simmer for 8 minutes, stirring occasionally. Do not allow the mixture to come to a boil. Remove from the heat and strain through a mesh strainer lined with cheese cloth or a clean tea towel. Allow the syrup to cool to room-temperature before stirring in the vanilla extract. Store in a mason jar or airtight container. The syrup will last for 1 month in the refrigerator. |
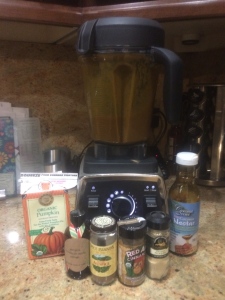
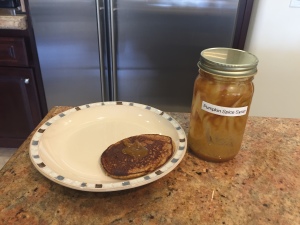
Please note, this syrup also works on PANCAKES!! Check out the recipe for Pumpkin Pear Pecan Pancakes, on my friend Corine’s page, Zucchini Runner!
For very simple, Paleo pancakes, you can also check out a previous post of mine, “4 Ingredient Paleo Pancakes!,” where I’ve added pumpkin puree as a 5th ingredient and also used the pumpkin syrup as a topping!
2) Chili Sauce & Pumpkin Chili (2 recipes for the price of one! lol)
The Pumpkin Chili recipe calls for chili sauce. Instead of purchasing store-bought, I went ahead and figured out how to make my own using the same method as my homemade ketchup. I tweaked the ingredients to made sure it would come out like chili sauce!
Chili Sauce:
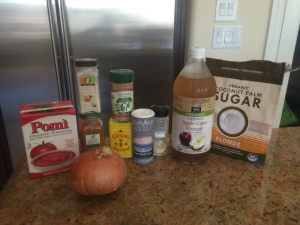
Ingredients:
|
|
Directions:
|
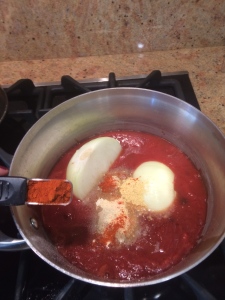
1. Place the tomato sauce, onion, vinegar, sugar, tomato paste, salt, and spices in a medium saucepan.
|
|
2. Bring the mixture to a boil and then reduce head to simmer, stirring occasionally, until thick, about 1 hour.
|
I love recipes that just simmer in a pot!
After the chili sauce is made, you are ready to make the Pumpkin Chili! As a time saver, consider making the chili sauce ahead of time. And don’t forget you can always freeze small amounts for future use! I went ahead and saved the onion from the chili sauce! Please note: this is chili has a KICK! Feel free to modify the amount of chili sauce you add and/or chili powder!
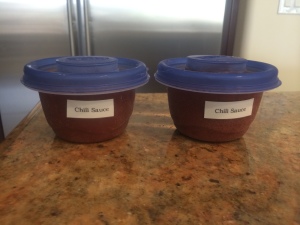
Pumpkin Chili Recipe:
Ingredients:
|
|
Directions:
|
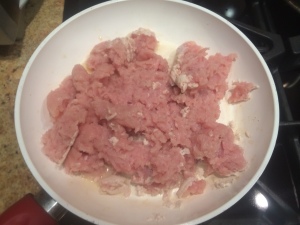
1. In a skillet, brown the turkey (instead of using oil, I like to use broth).
|
|
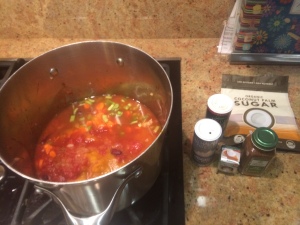
2. In a separate large pot, add in all the remaining ingredients and stir well to mix.
|
|
3. Bring to a boil, then reduce the heat.
|
|
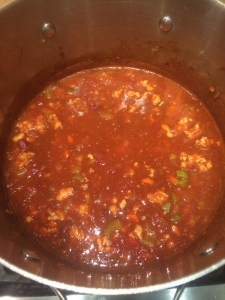
4. After the turkey is browned, add to the large pot. Let all of the ingredients simmer for at least 30 minutes.
|
I used ground turkey, but feel free to substitute with bison or ground beef!
Check it out – I reused the onion that sat in the chili sauce! Not gonna lie, it was a bit messy to dice LOL!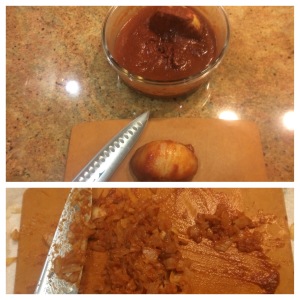
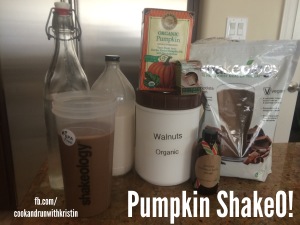
3) Pumpkin Shakeology Shake
Not all things pumpkin have to be warm!! For a cool refreshing smoothie, check out my Pumpkin Shakeology Shake! Please note the amounts listed are for my 20 oz Magic Bullet cup. If you are using a bigger or smaller cup, please adjust accordingly!
Ingredients:
|
|
Directions:
|
Please note: These are the measurements for a 20 oz magic bullet cup.
1. Place all ingredients in a blender and blend!
|
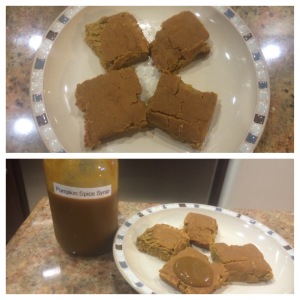
4) Pumpkin Bars (Refined-sugar-free, gluten-free)
I have to credit @mianutrition on Instagram for this recipe! These are a perfect treat for those watching their sugar!
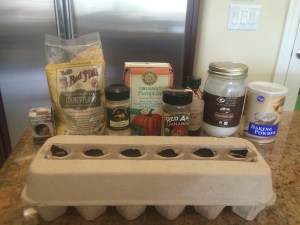
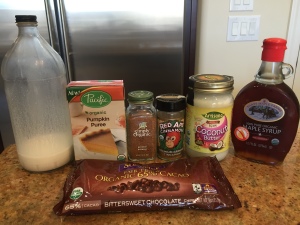
Ingredients:
|
|
Directions:
|
1. Mix dry and wet ingredients separately, then together.
|
|
2. Spread evenly in a greased 8×8 baking dish and bake at 350 degrees F for 35-40 minutes.
|
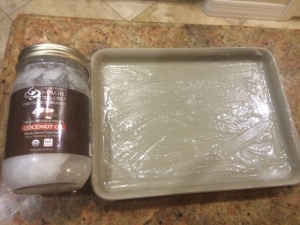
To grease my pan, I like to used coconut oil!
I put my wet and dry ingredients in separate bowls.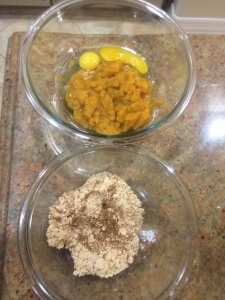
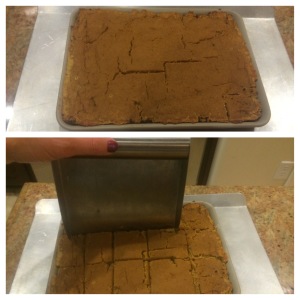
Then I mix everything together and spread the mixture on my greased cookie sheet.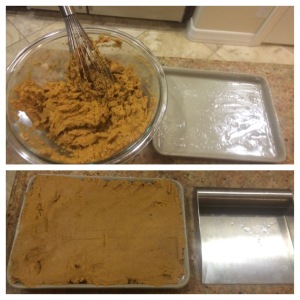
|
|
Directions:
|
1. In the food processor, combine all the ingredients for the pumpkin cream. Blend until smooth.
|
|
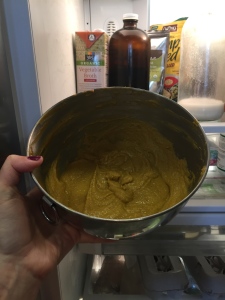
2. Stick the food processor bowl in the fridge to firm up a little. About 10 minutes.
|
|
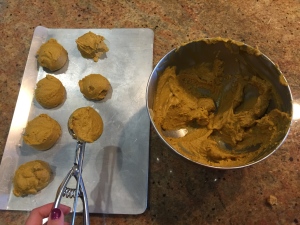
3. Using a cookie scoop, drop mixture onto a lined baking sheet.
|
|
4. Place the baking sheet in the freezer to firm while you make the chocolate mixture.
|
|
5. To make the chocolate use a double boiler method. Fill a saucepan with water and bring it to a boil.
|
|
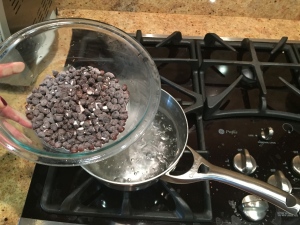
6. Place a glass bowl on top of the pot with the water. Add the chocolate chips and almond milk to the glass bowl and gently melt the chocolate.
|
|
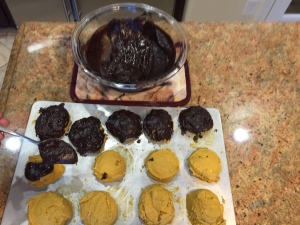
7. Once all the chocolate is melted, use a spoon to drizzle the chocolate over each truffle.
|
|
8. Place in the fridge to firm up the chocolate.
|
|
9. Please keep these truffles in the fridge. They should last a couple weeks.
|
|
10. You can freeze them for longer storage. Enjoy!
|
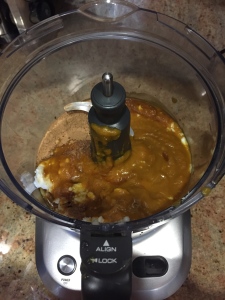 I let them sit in the fridge for 10 minutes!
